How to Choose the Right Production Companies Near Me
lensheadmedia
on
October 21, 2025
When you search for “production companies near me,” you’re probably looking for more than just a business with a camera. You’re looking for a creative partner who can bring your vision to life, help you connect with your audience, and deliver high-quality video content that drives results.
Whether you need a commercial, brand film, corporate video, or social media ad, choosing the right production company can make all the difference. With so many options available, it’s important to know what to look for and how to identify the right fit for your goals, your message, and your budget.
Understand What You Need Before You Search
Before you start reaching out to production companies near me, take a step back and define what you want your video to achieve. Are you trying to increase sales? Promote a product or service? Build awareness for your brand?
Understanding your goals will help you communicate clearly with potential production teams. Some companies specialize in commercial advertising, others in corporate content, and some focus on storytelling or social media campaigns. Knowing your purpose helps you find a partner that aligns with your creative and strategic needs.
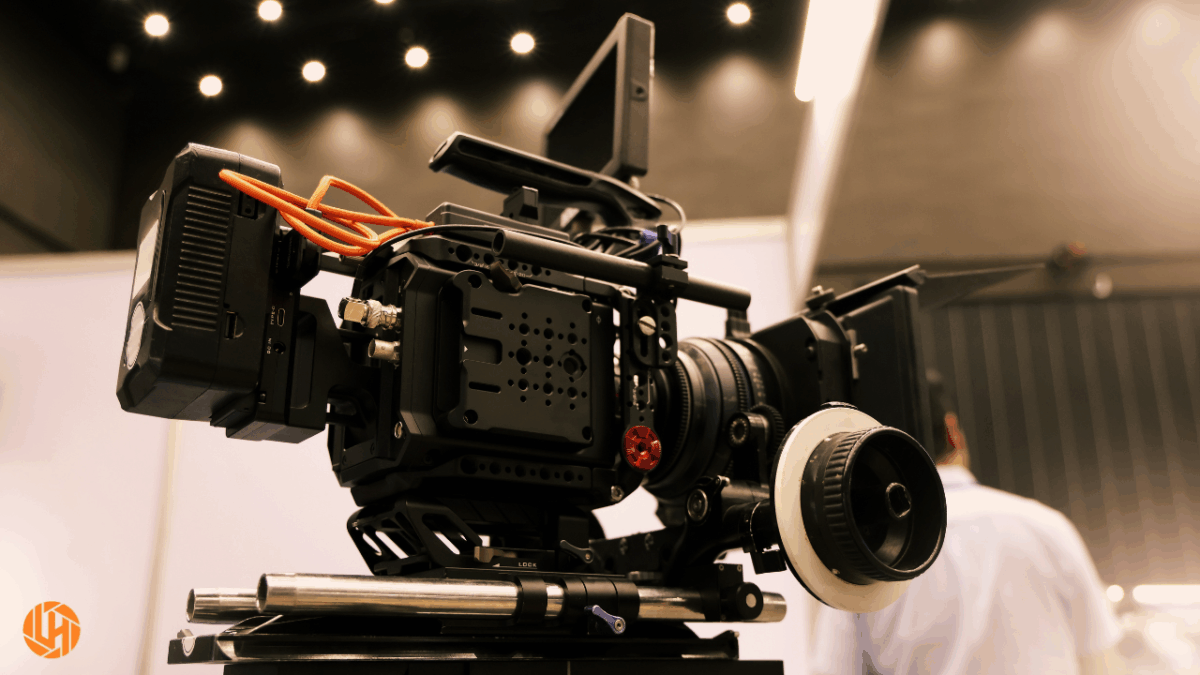
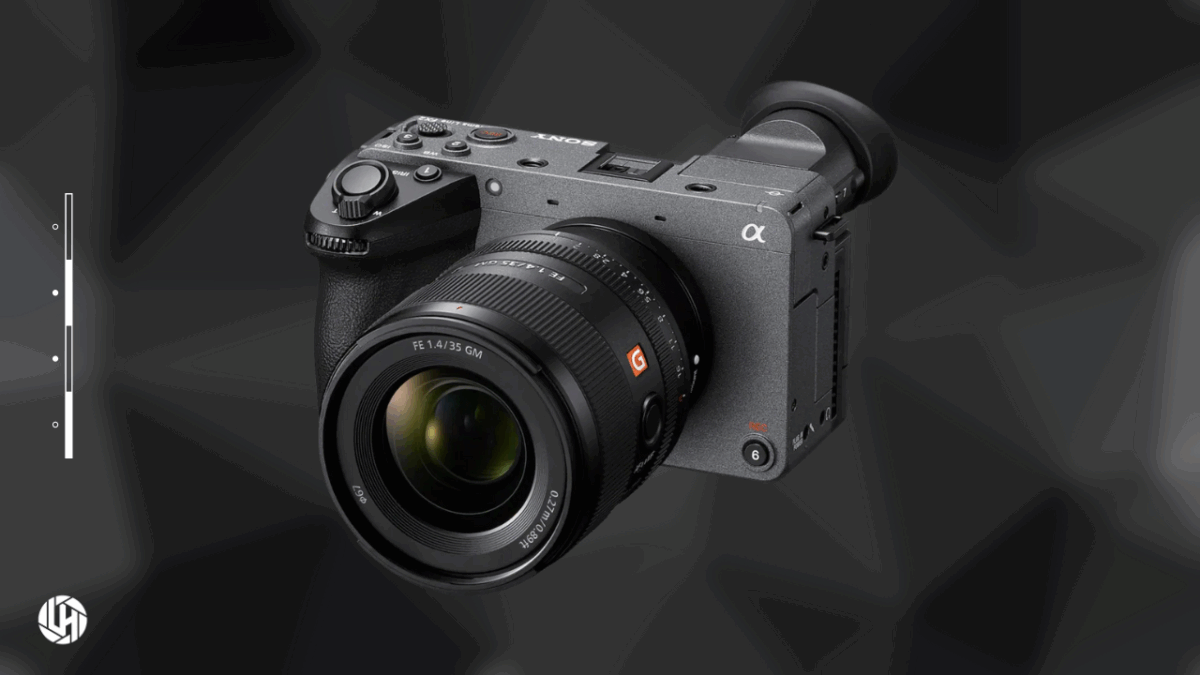
Look for a Full-Service Production Company
When you type “production companies near me” into Google, you’ll likely find a mix of freelancers, boutique studios, and larger agencies. A full-service production company, however, offers the most value. These teams can handle everything from concept development and scripting to filming, editing, and distribution.
At Lens Head Media, we provide full-scale production services that take your project from idea to completion. Our process ensures every step from creative direction to final delivery meets your vision and business objectives. Working with a team like ours means you don’t have to coordinate multiple vendors or worry about missing pieces in the production process.
Review Portfolios and Case Studies
When comparing production companies near me, one of the most important steps is reviewing their past work. Portfolios and case studies reveal not only the quality of their production but also their style, attention to detail, and ability to tell stories effectively.
Look for projects that reflect the type of video you want to create. If a company has experience producing videos for businesses in your industry, that’s a good sign they understand your market and audience.
A strong portfolio also demonstrates consistency, a clear indication that the team knows how to deliver results, not just visuals.
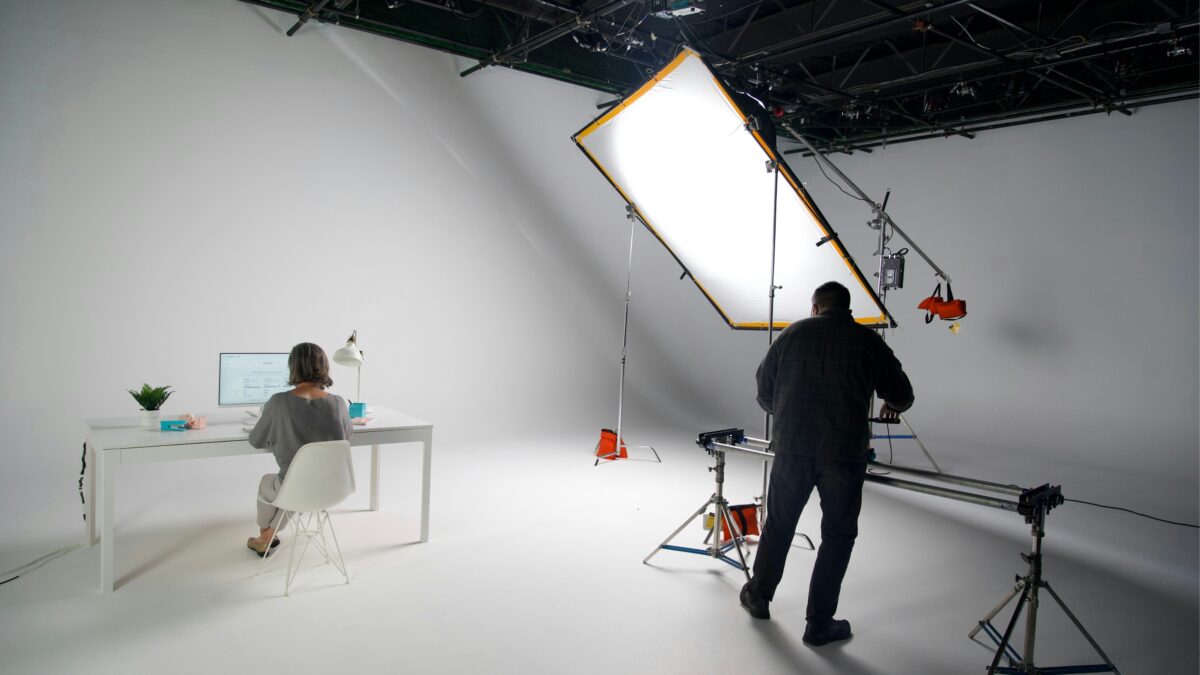
Pay Attention to Communication and Process
The best production companies near me don’t just make great videos — they make the process easy and collaborative. From the first consultation, you should feel heard, informed, and supported.
Ask potential companies about their workflow. Do they help with creative ideas? Do they handle scriptwriting, location scouting, and casting? A transparent, organized process is key to keeping your project on time and on budget.
At Lens Head Media, we pride ourselves on clear communication. We work closely with each client to understand their brand, audience, and goals. Our structured yet flexible approach ensures that your video not only looks great but also performs effectively across all platforms.
Balance Budget With Quality
Budget is always a factor, but it should never be the only one. When comparing quotes from production companies near me, remember that professional video production is an investment in your brand’s image and future growth.
Lower-cost options may save money upfront but can result in lower-quality visuals or messaging that fails to connect with viewers. A reputable production company will provide clear pricing, outline what’s included, and focus on maximizing your return on investment.
The right team will help you spend wisely, prioritizing creativity, strategy, and results over shortcuts.
Look for Local Expertise
When searching for production companies near me, proximity matters. Local production teams understand the area, know where to find the best locations, and have connections with nearby crew and talent.
Working with a local company also makes collaboration easier. You can visit the studio, review edits in person, and maintain clear communication throughout the project. Local professionals bring an extra level of dedication and flexibility that larger, out-of-state agencies can’t always match.
As a locally based studio, Lens Head Media knows how to capture the unique character of your community while delivering polished, professional video content that resonates with both local and national audiences.
Choose a Company That Thinks Like a Partner
The best production companies don’t just film videos, they help you tell your story. They think like marketers, strategists, and storytellers, not just technicians.
At Lens Head Media, we focus on creating video content that supports your brand goals and strengthens your identity. Whether you need a high-energy promotional video or a thoughtful brand story, we design every project to connect emotionally and drive measurable results.
If you’re ready to stop searching for “production companies near me” and start creating impactful video content, our team is ready to help. We’ll guide you through every step of the process, from planning and filming to post-production and delivery.
Contact Lens Head Media today to learn how we can help you create video content that stands out, tells your story, and reaches the right audience.