Why Videos for Restaurants Are a Must-Have in 2025
lensheadmedia
on
June 5, 2025
Why Smart Restaurants Are Using More Than Just Great Food Photos to Stand Out
In the world of hospitality, presentation is everything. From the plating of a dish to the ambiance of the dining room, details matter. But how do you communicate that experience to potential customers before they even walk through the door?
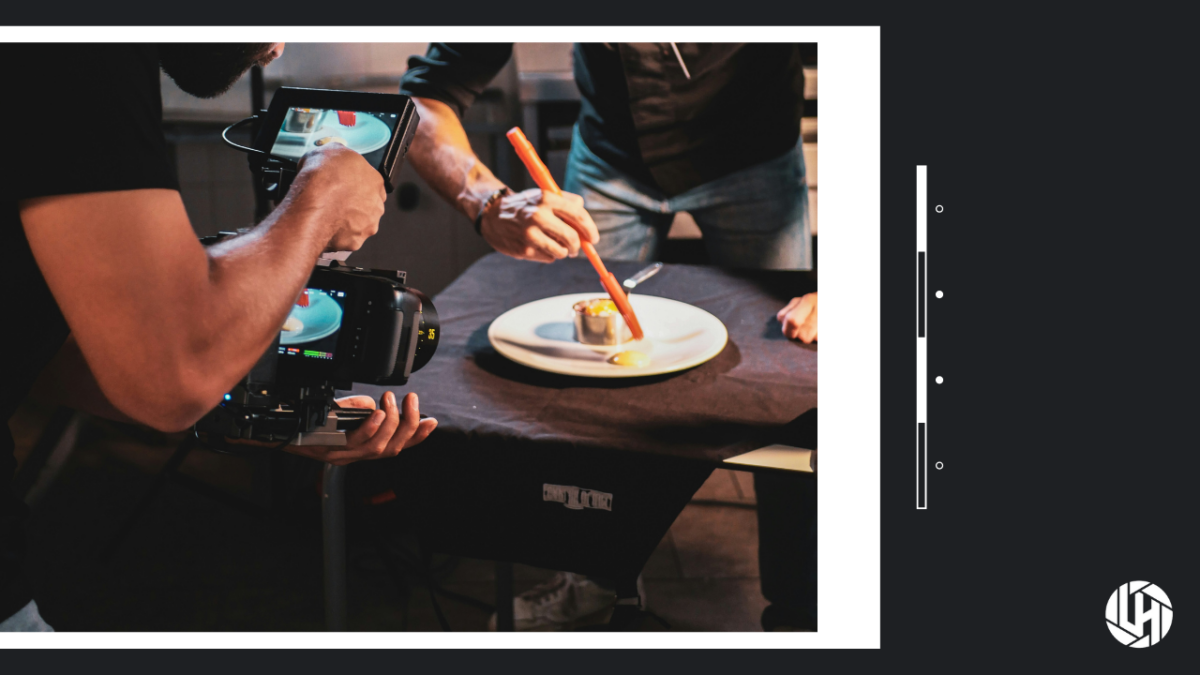
The answer is simple: videos for restaurants.
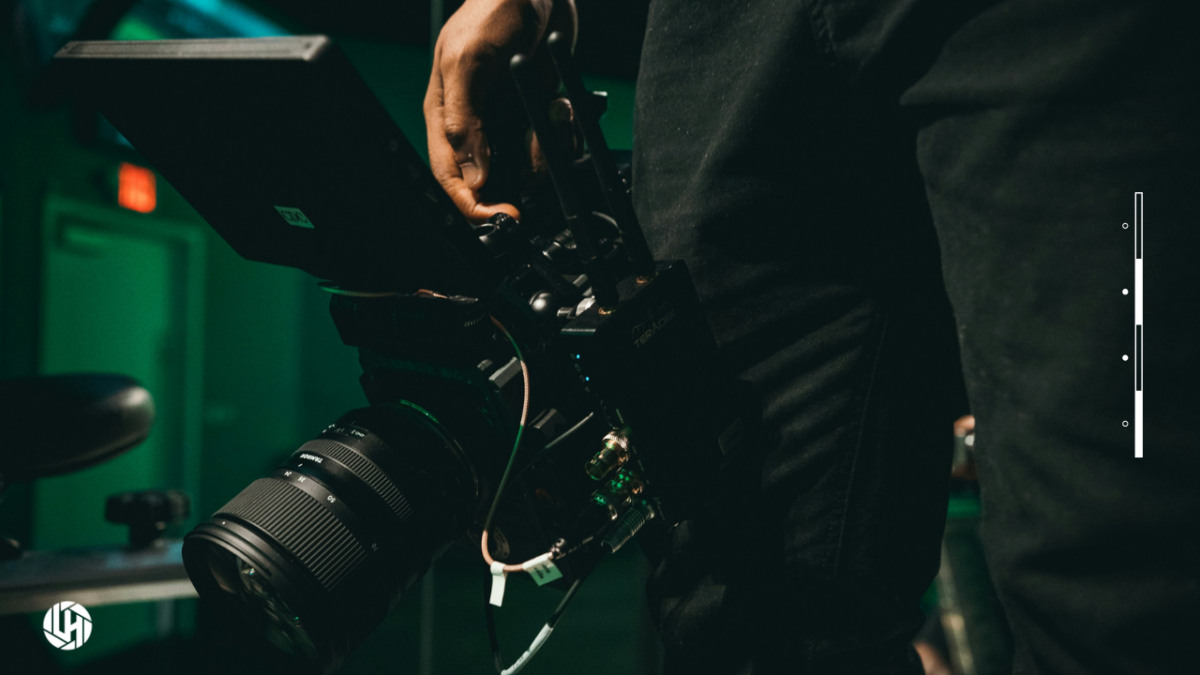
As social media and digital platforms continue to dominate how people discover where to eat, video has become one of the most powerful storytelling tools available to restaurant owners and marketers. While photography is still useful, it can only go so far. A single photo might showcase a dish’s aesthetic, but video captures the emotion, movement, sound, and personality of your space—and that is what creates real connection.
Here’s why investing in videos for restaurants is no longer optional, but essential.
Videos For Restaurants Sell the Full Experience
When someone is deciding where to eat, they are not just looking for food—they are looking for a vibe. Is it cozy and romantic? Fast-paced and energetic? Family-friendly or craft-cocktail cool? A still image cannot communicate the energy of a busy kitchen, the laughter of guests enjoying a meal, or the sizzle of a steak hitting the grill.
Video lets you capture the full sensory experience:
The flicker of candlelight on a dinner table
The sound of a cork popping
A chef adding final touches to a dish
A server greeting guests with a warm smile
That emotional layer is what photography struggles to provide. When done right, video doesn’t just showcase your restaurant, it sells the feeling of being there.
More Engagement, Better Results
It is no secret that video dominates digital platforms. Posts that include video receive significantly more engagement on Instagram, Facebook, and TikTok than those with static images. People are more likely to pause, watch, and interact with video content, especially if it tells a compelling story or shows something in motion.
For restaurants, this could mean:
A quick montage of the day’s specials
A behind-the-scenes look at prep before service
A 30-second brand video showing your space, your team, and your values
Time-lapses of a full night of service
These types of videos are more likely to be shared, saved, and rewatched. That not only improves your online visibility, but also drives more traffic to your website, reservation links, or delivery platforms.
Video Builds Trust (and Cravings)
In a world full of stock photos, filters, and AI-generated content, authenticity wins. Video feels real. It builds trust because it shows your restaurant as it truly is. When viewers see real staff, real food, and real customers having a great time, they are far more likely to believe that experience can be theirs too.
This is especially important for newer restaurants, or those in competitive markets. A polished brand video or a series of short clips can help you rise above the noise and establish credibility early.
Video Answers Questions Before They Are Asked
One underrated advantage of video is how well it addresses the common unknowns diners often have:
What is the vibe like?
Is it casual or upscale?
What type of crowd does it attract?
Is it a good date spot? Family friendly?
What does the food really look like?
Instead of trying to answer those questions with copy or multiple photos, one short video can answer all of them at once—quickly, clearly, and visually. That kind of clarity helps speed up decision-making and gets people from “maybe” to “let’s go” faster.
Video Gives You Content Versatility
Another huge benefit of videos for restaurants is how adaptable they are. From one video shoot, you can create multiple pieces of content tailored for different platforms:
Reels for Instagram
Stories for Facebook
Short clips for TikTok
Banner videos for your website
Video ads for local campaigns
Training or hiring content for internal use
With smart planning, one video investment can fuel your marketing engine for months.
Final Thoughts: Good Food Deserves Good Storytelling
You put time, money, and passion into making sure every plate leaves your kitchen perfect. That same care should go into how your brand shows up online. Photography will always have its place, but if you are not using video, you are leaving one of your most powerful marketing tools on the table.
At Lens Head Media, we specialize in helping restaurants craft video content that feels real, looks premium, and moves people to take action. Whether you need a full brand piece, social content, or promo spots for events or new menu launches, we have got you covered.
Contact us today! Let’s bring your restaurant’s story to life one frame at a time.